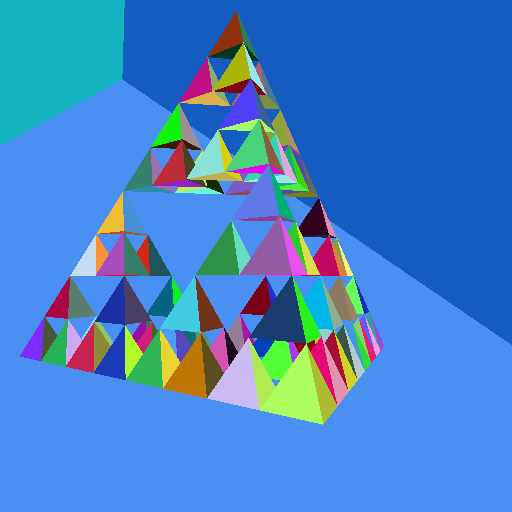

Output
We are using the PPM image file format because it is exceedingly simple to write. See the specification for details, and the initial trace.cpp code for an example that writes a PPM. PPM files can be viewed directly or converted to other image formats for viewing. The Mac Preview app will open these files. On Windows or Linux, the ImageMagick package includes a "display" program to view these files and "convert" program to convert PPM into most other image formats. Alternately, the Gimp package can both display PPM images and save in other formats.
When filling in this array, remember that it is in y/x order (the entire first row, followed by the entire second row, etc.), with the first pixel in the top left corner of the image. Also, PPM colors are unsigned bytes ranging from 0 to 255, while rayshade colors are floating point numbers, ranging from 0 to 1. Use floating point colors internally, then convert to bytes for output. Be careful to check for overflow or underflow when mapping floating point values into a byte. For example, something like this could convert a floating point color value, f, to byte form:
(f>1.0) ? 255 : (unsigned char)(f*255.0)
File locations
Take the .ray filename to use as a single command-line argument (you can set the command-line arguments in the Debug project settings in Visual Studio, or under Edit Scheme in XCode). Look for this file relative to the cmake build directory, using the PROJECT_BUILD_DIR defined in config.h.
Create your output in a file named trace.ppm in the PROJECT_BUILD_DIR. Note that this is different than the directory used for assn0 (which used PROJECT_BASE_DIR). Creating the ppm file in the build directory will prevent you from having a ton of extra commits that are just because you ran a new rayshade file through your program and trace.ppm changed.
Extra credit
For up to 10 points of extra credit, do spheres as well.

Other people's code
Ray tracing is a popular rendering technique, and the internet contains lots of resources for ray tracers in general and things like ray-object intersection in particular. Other than the PPM snippet above or files provided by me in your git repo, YOU MAY NOT USE ANY OUTSIDE CODE. All code that you use must be strictly your own.
Strategy
This is a big assignment. Start NOW, or you will probably not finish. No, really, I promise you will not be able to do it in the last two days. Even before we get to all of the details of the ray tracing itself, you can still start working on your file parsing.
I have created a separate page with some additional development suggestions.
What to turn in
Turn in this assignment electronically by pushing your source code to your class git repository by 11:59 PM on the day of the deadline and tagging the commit assn1. Do your development in the trace directory so we can find it.
Also include an assn1.txt file at the top level of your repository telling us about your assignment. Tell us what works, and what does not. Also tell us what (if any) help you received from books, web sites, or people other than the instructor and TA.
You must make multiple commits along the way with useful checkin messages. We will be looking at your development process, so a complete and perfectly working ray tracer submitted in a single checkin one minute before the deadline will NOT get full credit. Individual checkins of complete files one at a time will not count as incremental commits. Do be sure to check in all of your source code, but no build files, log files, generated images, zip files, libraries, or other non-code content.
You should not use the github file upload for anything in this class. You will lose points on the assignment if you do. Commit to your local repository, then push to github.