Installing Debian 6.0 in VirtualBox
This short guide will demonstrate how to install Debian 6.0 in VirtualBox for the projects for this course. For the most part, it is a straightforward process, however, sometimes a few changes must be made to the defaults. It is for those instances that this guide was put together.
Setting up the VM
This portion assumes that VirtualBox is already installed on the host machine. As this is different from OS to OS and from distribution to distribution, installing VirtualBox itself is not covered here. Please consult the VirtualBox website for more information. Also, if you are using Linux, consult the package repository of your distribution to see if a package is available (there should be one there).
All screenshots shown in this guide were taken on VirtualBox 4.1.0 on Mac OS X 10.7 (Lion). The exact screens may differ slightly on other OSes or versions of VirtualBox. Please note that you should be using at version 4.1.x of VirtualBox. These are the only versions that we will be supporting in the class.
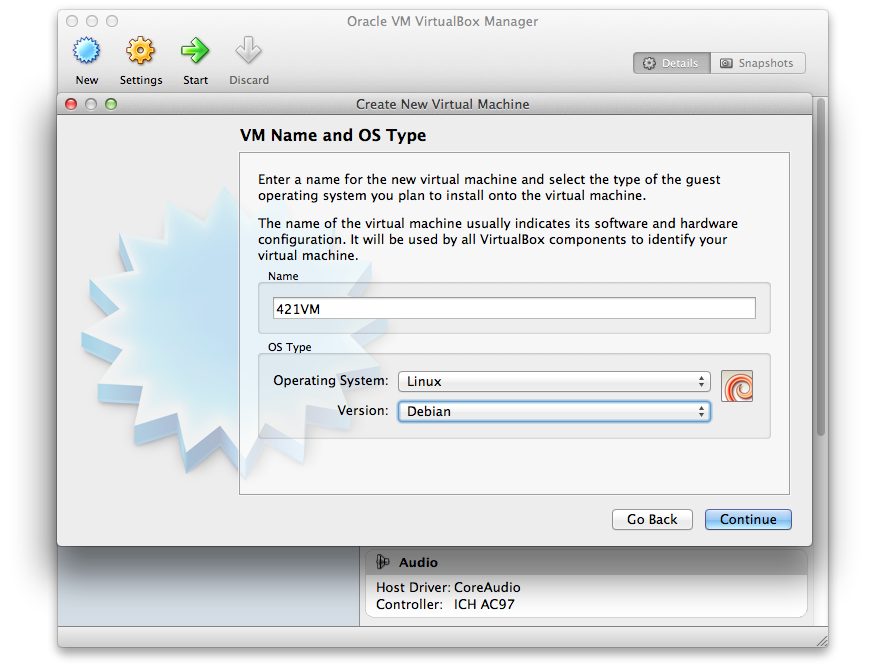
When starting VirtualBox up for the first time, you will need to create a new
VM using the appropriate button in the program. This will bring up the New
Virtual Machine Wizard. When asked for the name of your VM, we will call it
"421VM" for the course (the name is not particularly important -- feel free to
give it a different name). Select that you will be using an Operating System of
Linux, and a Version of Debian (NOT 64 bit). This is shown in the screenshot
below:
You should set the amount of memory to at least 768MB. If you have a lot of RAM in your computer, you may want to increase this, but 768MB will work. After setting the amount of memory, you will need to set up the hard disk image. Select to create a new hard disk image, which will bring up the "Create New Virtual Disk" wizard. You can accept the defaults for the disk image type and the storage details (VDI image and Dynamically allocated, respectively). The name is not particularly important, but make sure if you wish to put the disk image on a USB drive to select that location in on the next screen. Also, you should increase the size of the disk to 12GB. Upon completing this wizard, you will get a summary of the settings you have made. Verify them, and press the Create button.
The newly created Virtual Machine should show up in the main VirtualBox window now. Select it, and hit the start button in VirtualBox. Upon doing this, you should see the First Run Wizard. In the Select Installation Media stage, pick the ISO file for Debian 6.0 i386 netinst (Which you can get here if you have not yet downloaded it). Finish the wizard, and the VM should start loading the Debian installer.
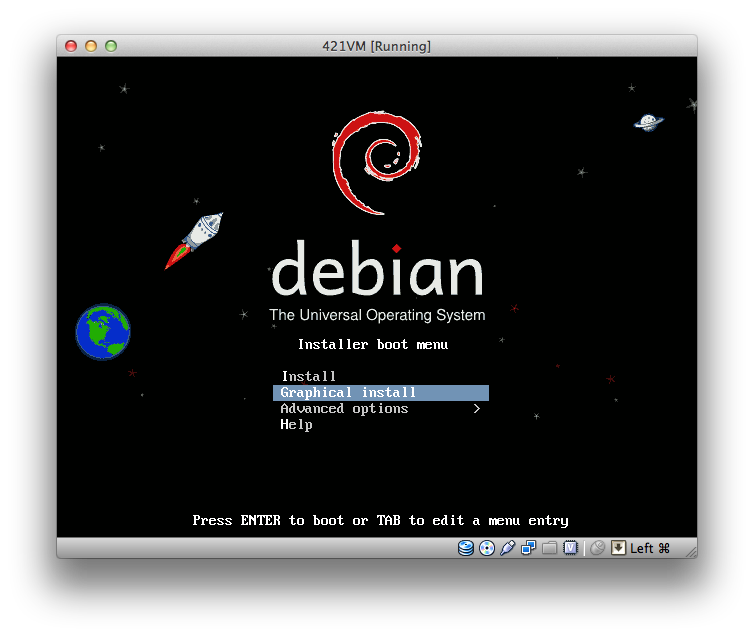
On the boot menu, you should select to do a Graphical Installation, as shown
below.
The defaults given by the installer are sufficient for the purposes of this class. You should give your VM a good root password (always practice good security practices, even if it is just in a VM), and a unique hostname on the appropriate screens of the installer. When you are prompted to partition the disk, you should set up the system as having one large root partition (and the relatively small swap partition it will also default to). Pretty much all of the defaults will work just fine as mentioned. The installation will take a significant amount of time to download and install all of the packages.
Once the installation finishes, you should be able to reboot your VM into Debian. Congratulations, you have set up the VM that we'll be using for this class!